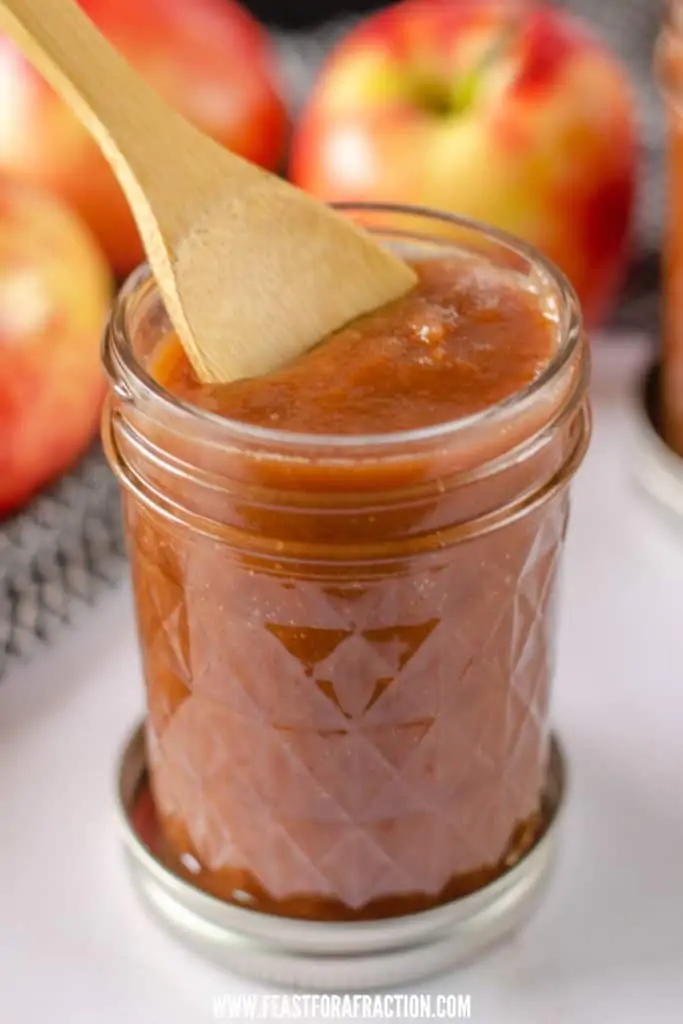
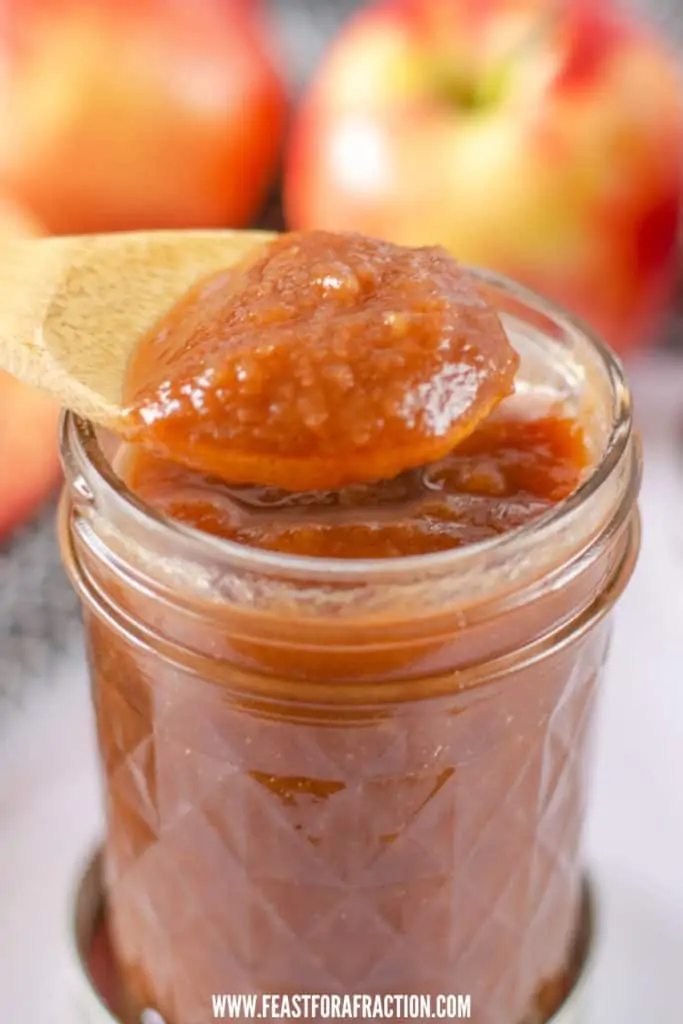
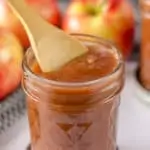
By making Apple Butter in your Instant Pot, we cut the hours long process down to 45 minutes. Use the included canning instructions for long term storage and enjoy this rich, dreamy Instant Pot Apple Butter on toast, biscuits, served with Brie cheese or even spread on grilled cheese sandwiches.
As an Amazon affiliate, I earn from qualifying purchases.
When I think of fall flavors, I immediately think of the rich apple cinnamon flavor of apple butter! It’s the perfect thing to make if you go apple picking. Oddly enough, apple butter does not contain any actual butter and is vegan and gluten-free. It is really just spiced applesauce that is cooked down to the point that all of flavors basically caramelize into a perfectly sweet, flavorful spread.
The process to make apple butter is usually pretty time consuming if you make it on the stove or in the slow cooker. I’ve cut it down to a total time of 45 minutes by using the Instant Pot!
For more apple recipes, try my Applesauce Banana Bread, Apple Nachos or Apple Blondies.
Ingredients
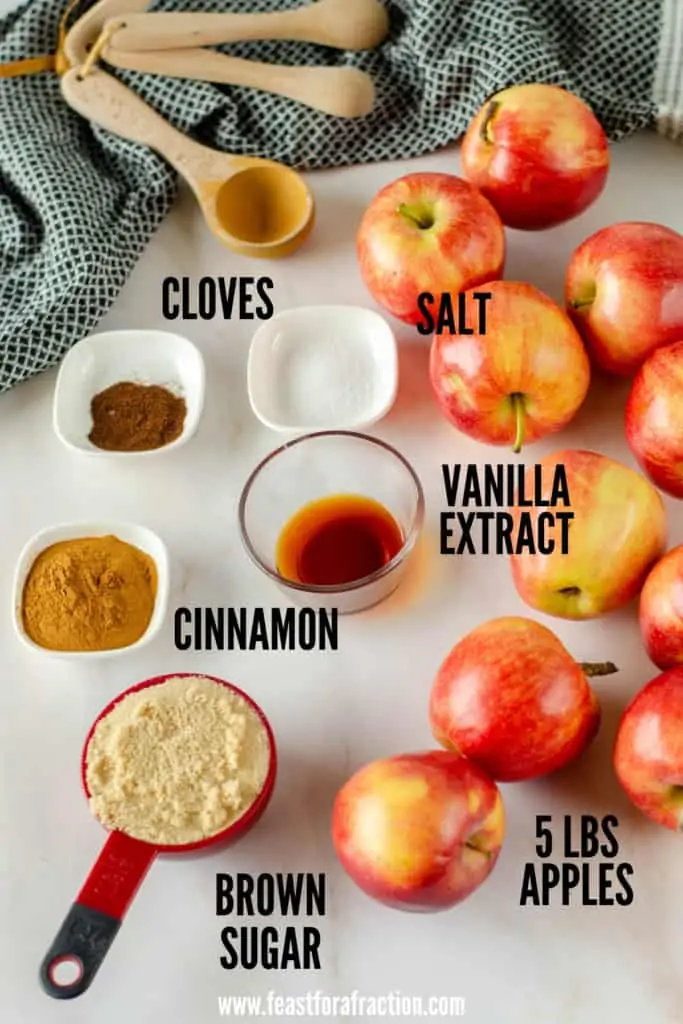
Apples: My favorite apple varieties to use are Fuji and Gala, but you can use your favorite or whatever happens to be on sale. You’ll need 5 pounds total. Slice and remove the core and stem, and you can even leave on the skin.
Brown Sugar: Brown sugar adds a deeper flavor than granulated sugar and helps provide a richer color to the apple butter. When measuring, make sure to pack the brown sugar in the measuring cup.
Cinnamon, Cloves, Salt and Vanilla Extract: These ingredients really give us the spice and flavor to our apple butter. Cinnamon is a perfect pair with apples and the salt helps bring out all the flavors. Don’t skip the salt. In a pinch, you can pumpkin pie spice.
Water or Apple Cider: Apple cider punches up the apple flavor, or you can use water. We need to add just enough liquid so that we don’t get a burn warning on the Instant Pot.
Equipment
- Instant Pot
- Cutting Board and Knife or Apple Corer
- Measuring Spoons and Measuring Cups
- Immersion Blender
- Rubber Scraper
- Canning Jars (optional)
How to Make Apple Butter in the Instant Pot
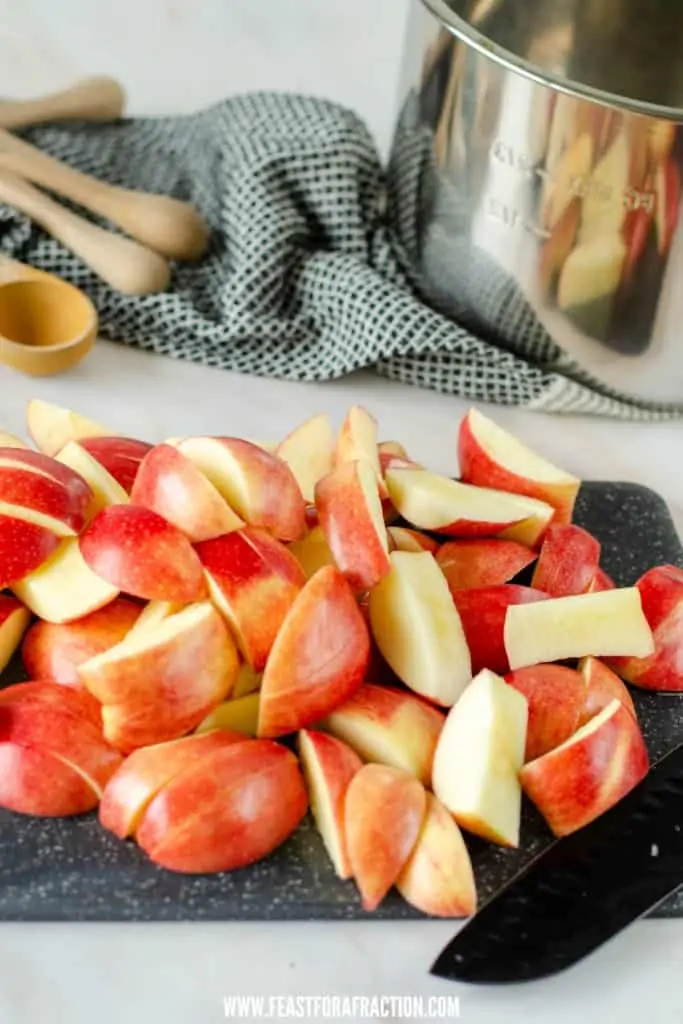
To start, all you have to do is core and slice your apples. There is no need to peel them if you don’t want. I really like leaving on the peels because it is added nutrition and it helps deepen the color of the apple butter.
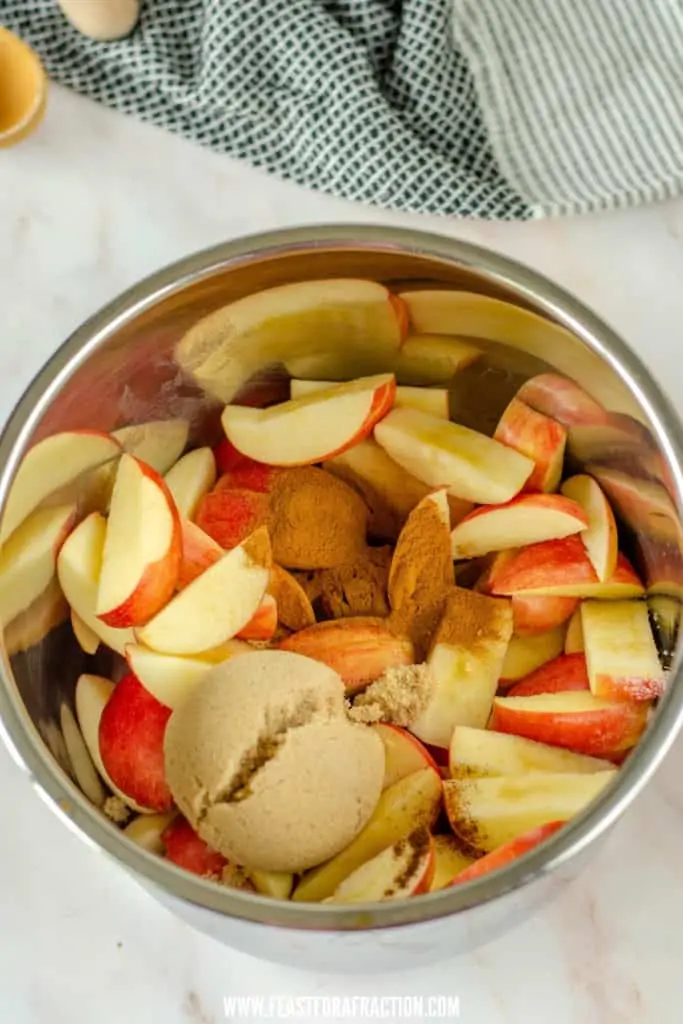
From there, it couldn’t be easier. Throw your apples and the rest of the ingredients: water or apple cider, brown sugar, cinnamon, cloves, salt and vanilla in the Instant Pot. Seal, and cook on high pressure for 15 minutes.
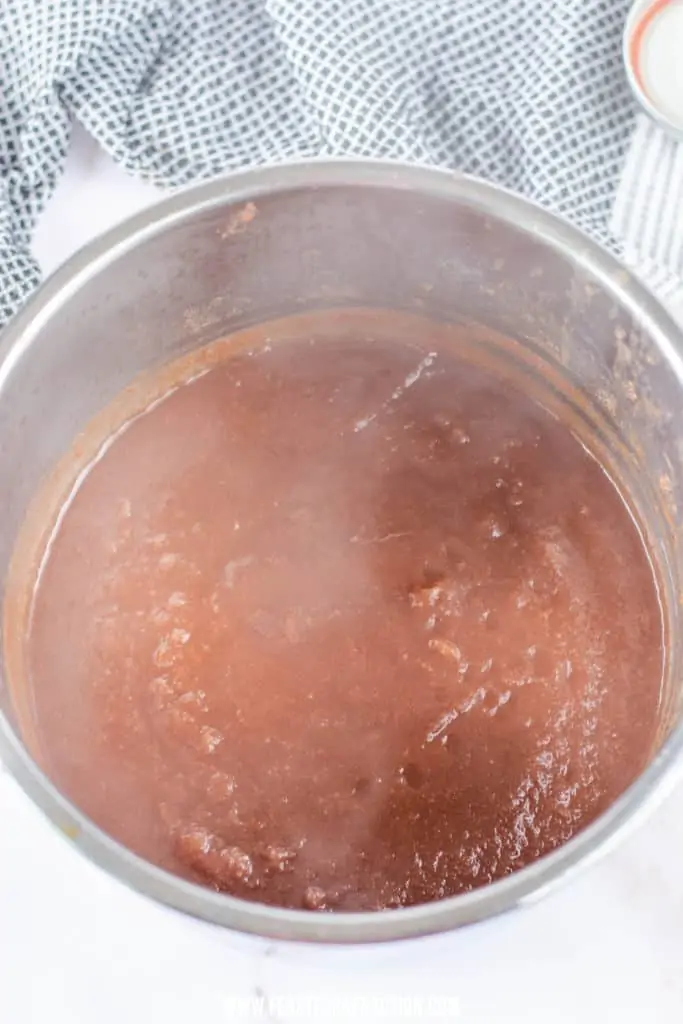
Allow the pressure to release naturally for 10-20 minutes, then release any remaining pressure. Next, you’ll use your trusty immersion blender to blend the apple mixture until smooth. You can leave some chunks if you like, but I prefer a smooth apple butter.
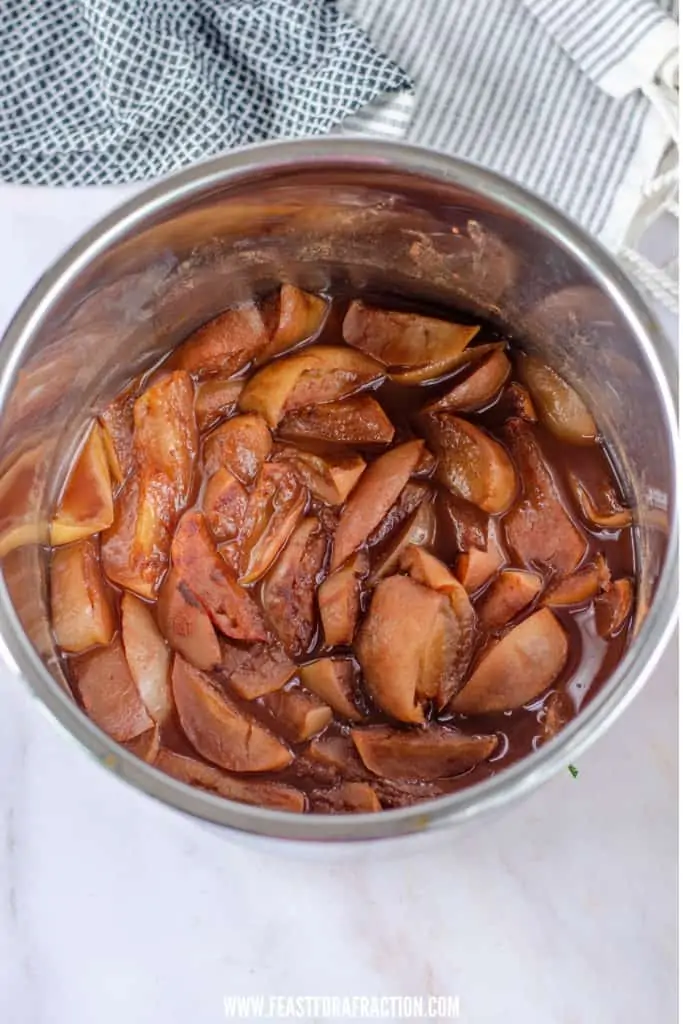
Finally, you can either set your Instant Pot to “Saute” and then press the Minus button to adjust to “Less.” Leaving on high saute caused the apple mixture to boil and pop a lot, so I found it easier to control by switching to “Less.” Saute, stirring occasionally, for 3-10 minutes until your desired thickness is achieved.
If you would prefer a more hands-off approach, you can transfer the apple mixture to a slow cooker. Prop open the lid with a wooden spoon to allow the extra moisture to escape and cook on low for 5-6 hours until the color has deepened and the mixture is thickened.
Tips and FAQs
Which apples make the best apple butter? You can also use whatever apple variety you prefer or have on hand. I tend to go for the crunchy and super juicy varieties like Gala and Fuji. Go with apples that you enjoy to eat raw and you can’t go wrong.
What do I use apple butter for? Apple Butter is delicious spread on toast or these super easy to make homemade biscuits. I also love to serve it along side Brie cheese or spread on a grilled cheese sandwich. It also adds a great flavor to pork.
Is apple butter gluten-free? Yes, apple butter is naturally gluten-free, dairy-free and vegan.
Does apple butter need to be refrigerated? For storage, you can water-bath can your apple butter or freeze it. If canned, it will store at room temperature for up to a year. If frozen, it will keep for up to 3 months. Once opened, your apple butter does need to be kept refrigerated and it should keep for up to 2 weeks.
How can I tell when it is done cooking? You’ll saute your apple butter until it is thick enough to fully coat the back of a spoon and leave a trail when you wipe your finger through it. It will deepen in color. Apple butter does thicken a bit more as it cools and you’ll be left with a thick, velvety spread.
More Homemade Pantry Recipes
- Instant Pot Peach Jalapeno Jam
- Homemade Salsa (made with canned tomatoes)
- Easy No-Cook BBQ Sauce
- Homemade Cornbread Mix
Instant Pot Apple Butter
Equipment
Ingredients
- 5 pounds apples any variety (I recommend Gala or Fuji)
- 1/2 cup brown sugar packed
- 1 Tablespoon ground cinnamon
- 1 teaspoon ground cloves
- 1 teaspoon salt
- 2 Tablespoons vanilla extract
- 1/2 cup water or apple cider
Instructions
- Core and slice each apple into 8 slices. You can peel the apples if you desire, but it is not necessary.
- Add apples and remaining ingredients to the Instant Pot.
- Put the lid on the Instant Pot, close vent and set on High Pressure for 15 minutes.
- Once timer goes off, let Instant Pot naturally release pressure for 20 minutes, then release pressure.
- Blend apple mixture in insert with immersion (stick) blender until smooth.
- Set Instant Pot to Saute and press the minus (-) button to adjust to "Less." Saute, stirring regularly, until desired consistency is reached, usually 3-10 minutes.
- Turn off Instant Pot and allow to cool. Store in jars in the fridge for up to 7 days or in the freezer for up to a year.
- For Canning: Heat 8 oz jars in a stock pot filled with water to boiling for 10 minutes. Heat lids and rings in a saucepan to boiling for 10 minutes. Fill jars with Apple Butter leaving 1/2 inch headspace. Wipe rims of jars before applying lids and rings. Process in a water bath for 10 minutes. Remove jars and place on a kitchen towel. As the jars cool, you should hear the lids pop as they seal. Allow to sit for 24 hours. Remove rings for storage. Canned apple butter can be stored at room temperature for up to a year.
Notes
Nutrition
Free Printable Canning Labels
Home canned goods make the BEST gifts. You can feel good about giving a homemade gift to a friend, and they understand the time and love that went in to making that gift.
Make a batch or two of this Apple Butter. Process jars be using the water bath method described in the recipe card. Then, slap on these adorable “Apple Butter” labels I designed. They fit perfectly on the lid of a regular or wide-mouth canning jar. The free printable I designed is compatible with these 2 inch Round Labels from Avery. They can be found here.


I plan on making this recipe using my instapot and canning it. I’ve never canned before. What do you mean by “Process in a water bath for 10 minutes.” Is it boiling water or room temperature? Thanks for your help. I can’t wait to make this!
Teresa
Hi, Teresa. I’m so excited for you to try canning. Water bath canning does use boiling water to create a vacuum seal on the jar. Marisa has a great post for anyone new to canning: https://foodinjars.com/blog/new-to-canning-start-here-boiling-water-bath-canning/
I want to make this for Christmas gifts. How many 8 oz jars does one recipe fill?
Hi, Evelyn! These will make wonderful gifts! This recipe will fill 6 (8 oz) jars.
Just finished making these and the apple butter is absolutely delicious! I used spiced apple cider instead of water and I cut the brown sugar in half (used 1/4 cup) and it turned out beautifully. I also followed the instructions for canning the apple butter and it couldn’t have been easier. Thank you for a wonderful recipe!
I’m so glad you enjoyed it! Thank you for visiting my site and for taking the time to leave a comment. Happy Holidays!
Hi Evelyn
Thanks for this recipe. I haven’t tried it yet I have one question -am I understanding to blend apples AND apple skin all together using immersion blender?
Thanks Joanie
Hi, Joanie. Yes, you can leave the skins on the apples. You are welcome to remove them if you like, but it isn’t necessary. Quarter them and remove the core and seeds. That’s it. 🙂 I am excited for you to try this recipe and hope you enjoy!
Just read a recipe which calls for leaving cores and skins on the apples and steaming or cooking them in a pot, then separating them from flesh. Cores contain the pectin and flavor? I would like to do this and put it through a big mill to get the sauce, do the IP from that oint. Will it work?
Sylvia
Probably to late but if you are going to leave cores, I wouldn’t use the instant pot. I’d just boil them til soft and run them through your food mill.
Thank you so much, Charity, for jumping in. Sylvia, you can absolutely leave the skins on with no need to remove them. Your food mill will make quick work of blending them in completely. The food mill will also catch any seeds. You can quarter your apples and cook them in the Instant Pot, run through your food mill, and return to the pot for sauteing to thicken the apple butter. Enjoy!
Delicious! I used Fuji and Gala apples and 1/3 cup of dark brown sugar. Super easy and satisfying. I’ve always been intimidated by canning, however, the directions were easy to follow and it was great to hear the seals on all of my jars “pop!”
That is so wonderful to hear, JoElle!! Canning really is so satisfying. 🙂 And then you get to admire the fruits of your labor!
I have never canned before. What does it mean by “remove rings” in the instruction to “Remove rings for storage”?
Hi, Michelle. Canning lids are usually two pieces. A flat lid and then the round ring or band that screws around the top. Once a jar is sealed, the lid will stay on and sealed, so it is not necessary to store the jar with the ring/band on it. In fact, it is safer to store without the ring because it will be more obvious if a lid happens to come unsealed. Also, it is not necessary to can this recipe if you don’t want to. The apple butter will keep in the fridge for a couple weeks or you can even freeze it for longer storage if you prefer.
If you leave the skins on, do you have to use a food mill or will an immersion blender do the job? I’m making this with my Pre-K class this week and would prefer not to lug my Vitamix up there. Thanks in advance!!
Hi, Camille. The immersion blender does a great job of getting everything smooth, even the skins. No food mill required. 🙂
If I wanted to add caramel, like the shelf stable pre wrapped ones, do you think it would still be safe for canning?
Unfortunately, caramel is not ideal with canning because it contains milk solids. I love the idea of the combination, though!
“If you would prefer a more hands-off approach, you can transfer the apple mixture to a slow cooker. Prop open the lid with a wooden spoon to allow the extra moisture to escape and cook on low for 5-6 hours until the color has deepened and the mixture is thickened.”
The above quote says “you can transfer to slow cooker”. Why? The Instant Pot has a slow cooker function.
Thank you for pointing this out, Sherri. After some quick research, I now see that the slow cook function on the Instant Pot does work without a lid. This is absolutely an option. I would just make sure to prop open the glass lid or leave off the pressure cooking lid to allow moisture to escape.
just made this, it turned out great, thickened up nice, i used a lid from one of my stove top pots to cover the instant pot when boiling it at the last. it made almost 8 -1/2 pints. added a touch of vanilla to mine, and dark brown sugar.
Such a smart idea! And love your additions!!
I love it with agave and honey instead of the white sugar. Great recipe ! Thank you so much!
Ooh, that sounds delicious! And thank you for the comment, Cyndi!
Just tried the recipe for the first time. It was so simple. Next time I will cut the salt in half.
Thank you for the feedback, Kathy! <3
Can I use a regular blender if I don’t have an immersion blender?
Hi, Erin. Yes, I think a regular blender will work fine. Just make sure to let the mixture cool a little before blending. Alternatively, you could use a potato masher.
We just finished doing this recipe and smells great. The question we have is after the canning process once we decide to open a jar that was canned how long does the Apple butter last?
Hi, Beverly. Once opened, the apple butter will last in the fridge for 3-4 weeks.
Made this recipe yesterday for the first time but no added sugar, no salt, just unpeeled apples and spices. Amped up the cinnamon, added ginger and nutmeg. I did not like all the apple peels floating so i removed them by hand… And I have an apple peeler and did not use it! (my apples were organics on sale)
It tasted GREAT according to my trusted taster friend.
But it can be made and tasty without the salt and sugar if you wish. (Try pricing organic no sugar apple butter for a comparison)
Used an Instapot Ultra Mini, it only held 4lbs of apples. Maybe more if I had cut them into small chunks. I used three kinds of apples, some seemed better than others about the peels dissolving.
Wonderful, Richard! Thank you for your feedback and your version sounds wonderful! I like to do no sugar when I make applesauce. 🙂
I made this recipe. I loved the idea that I didn’t have to peel the apples. I didn’t have an immersion blender, so I used a food processor. I had to strain because there were bits of skin left, however this was an excellent and easy recipe.
This was so easy and it turned out perfectly. I didn’t peel the apples as instructed, cooked it in the InstantPot, blended with an immersion blender and then thickened it on the sauté function. I canned it in a water bath. I kind of feel guilty thinking about the generations of women before me and what they went through to make apple butter. One addition is I added grated lemon rind – about a teaspoon – at the end before put it in the jars.
That is so wonderful, Sarah! Glad you enjoyed it, and thank you for taking the time to comment! <3
The process of using the instant pot was amazing! Could not have been more simple. I have several more batches to go but I think I’ll reduce the salt and vanilla for the next batches as it felt like it diminished the apple flavor for me. Thanks for sharing your recipe!
I’m so glad you found this recipe easy and efficient. Thank you for your feedback and for taking the time to comment! <3
My apples are already peeled, cored, sliced & packaged by cups in the freezer. I love the sound of your recipe, but I need to know how many cups of prepared apples to use in your recipe.
I made this for the second time this season tonight, but each time I cut the brown sugar and spices/seasonings by half because I like tasting the apples too. I used 4# of local Jonathan apples which came up to the fill line of 6qt instant pot. This recipe is so, so good and a much quicker way to make it. I’m freezing it since I didn’t have time to can, but it’s also nice to be able to put small quantities up for singles and seniors.
Thank you so much for your comment and feedback, Stephanie!
Hi there! I am making this recipe today for the first time and canning them because I am a canning fool! (Literally looking everywhere for something to can right now when I am done with this recipe!) I realized now that it says 5lbs but seems like it was before coring. I have 6 lbs of apples AFTER coring my apples… Can I add cinnamon and vanilla and stuff to it after it’s all cooked down in the instant pot? I am so bummed I messed it up before I even started. LOL
Hi, Holly. Nothing to worry about at all. You can start with the same spice and sugar measurements with your 6 lbs of apples and taste once cooked. Add more to your liking and proceed with canning. 🙂
I’ve made this a few times and now peel my apples first because my immersion blender didn’t quite get the peels smooth. You could see the peels as little shreds, and while it didn’t ruin the texture when eating it, it looked a little off so I now peel for apple butter that’s being gifted. I’ve also started adding the sugar at the end because I can cut it down if the apples are sweet enough.
If I was to make this in 16oz jars, do you know how much I should increase the processing time in the water bath by?
Thank you for your feedback, Lauren! 8 and 16 ounce jars are processed for 10 minutes. 32 ounce jars are processed for 15 minutes. Add 5 minutes to each if you are above 6000 ft elevation.