

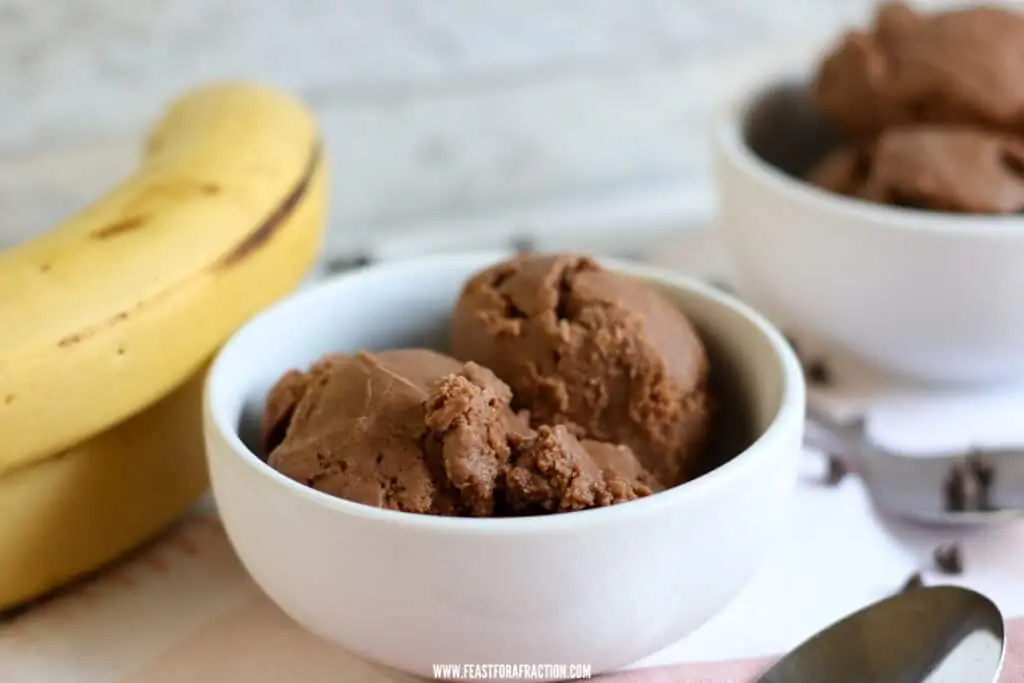
Make this Dairy Free Chocolate Peanut Butter ice cream (or nice cream) recipe at home for a fraction of the price. It’s also vegan, no sugar added, and doesn’t require an ice cream maker! Just 5 minutes of prep to enjoy this delicious, healthy treat.
As an Amazon affiliate, I earn from qualifying purchases.
Dairy free ice cream, also known as nice cream, is incredibly popular and becoming more widely available in grocery stores, but it comes with a huge price tag. With a handful of budget-friendly ingredients, we can whip up a batch of dairy free, vegan nice cream at home for a fraction of the price. And we won’t even need an ice cream maker.
For another treat, try these Chocolate Peanut Butter Banana Graham Crackers!
Table of contents
Ingredients
Bananas: You’ll need 6 bananas for this recipe. The best way to collect your frozen bananas is to keep them in a freezer bag in the freezer as they get too ripe to eat. (You know what I’m talking about 😉 )
They are much easier to work with if you peel the bananas before you freeze them. Whether you also slice the bananas before freezing is totally up to you. If you’ve got even more ripe bananas, check out this Dairy Free Banana Bread recipe.
Peanut Butter: I recommend using creamy peanut butter, but it’s completely up to you. You can also use almond butter or a nut-free alternative like sunflower butter if you have a nut allergy.
Cocoa Powder: You’ll find this in the baking aisle of your grocery store. No need to get fancy here. Regular Hershey’s or store brand cocoa powder will work perfectly.
Vanilla Extract: This is optional, but I highly recommend using it if you have it. You can even make your own vanilla extract really easily.
Salt: This is one instance where you want to use table salt. If you only have kosher salt, you can leave it out or increase your measurement to 1/2 teaspoon.
Milk Alternative: I tested this recipe with almond milk and soy milk, and both worked well. You can also use coconut milk or oat milk if you like. I have not tested this with homemade milk alternatives. If you don’t need dairy free, you can use regular whole milk.
Equipment Needed
- High-Powered Blender (like Blentec, Vitamix or Ninja)
- Measuring Cups
- Measuring Spoons
- Ice Cream Freezer Container
Variations for Dairy Free Ice Cream
The base of this recipe is frozen bananas and a milk alternative. From there, you can switch up the flavors with a variety of ingredients:
- Use almond or cashew butter instead of peanut butter
- Use almond extract instead of vanilla extract
- Leave out the peanut butter and increase the cocoa powder to 1/2 cup for a straight chocolate version
- From the chocolate version above, swap the vanilla extract for peppermint extract for a mint chocolate variation
- Replace the cocoa powder and peanut butter for fresh strawberries or strawberry jam for a fruity version
The possibilities are endless. Let me know in the comments if you make your own variation!
Frequently Asked Questions
To quickly ripen bananas, you can pop them in the microwave for 30 seconds. This helps speed up the sugar development in the bananas.
You’ve got a couple options here. If you’re like me, you buy a bunch of bananas, eat a couple and the rest sit on the counter until they’re too ripe or mushy. At that point, peel the bananas and throw them in a freezer bag and keep it in the freezer.
Add to it each time you have another banana that’s too ripe. Once you have the equivalent of 6 bananas, you’ve got enough to make this recipe. You can make my Applesauce Banana Bread or this tasty Cinnamon Roll Smoothie with those frozen bananas, too.
Secondly, you can peel and slice 6 bananas. Lay them out of a baking pan and pop it in the freezer until the bananas are frozen, usually 2 hours.
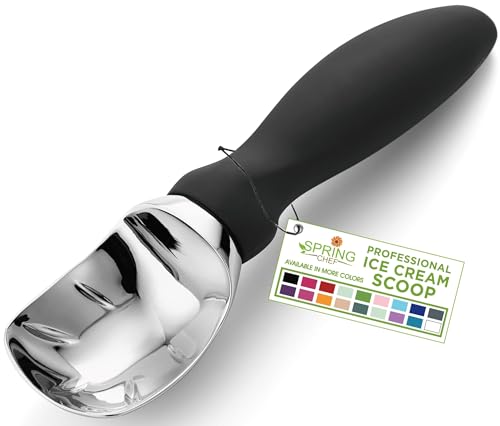
First, don’t worry. This is totally normal for homemade ice cream. It doesn’t contain the stabilizers and other preservative ingredients like normal ice cream. Just let it sit on the counter at room temperature for 5 minutes and it’ll be ready to scoop. You can also run your ice cream scoop under hot water. Repeat this before each scoop and you’ll have perfect scoops that we come right out.
Nope! By using frozen bananas, the blender does all the work for us. Simply blend it smooth and pour into a freezer container and freeze until set.
More Dessert Recipes
- No Bake Banana Cream Pie
- No Churn Cookies and Cream Ice Cream
- White Chocolate Peach Dump Cake
- Peppermint Hot Chocolate Bombs
- Easy No-Bake Dessert Recipes
Recipe
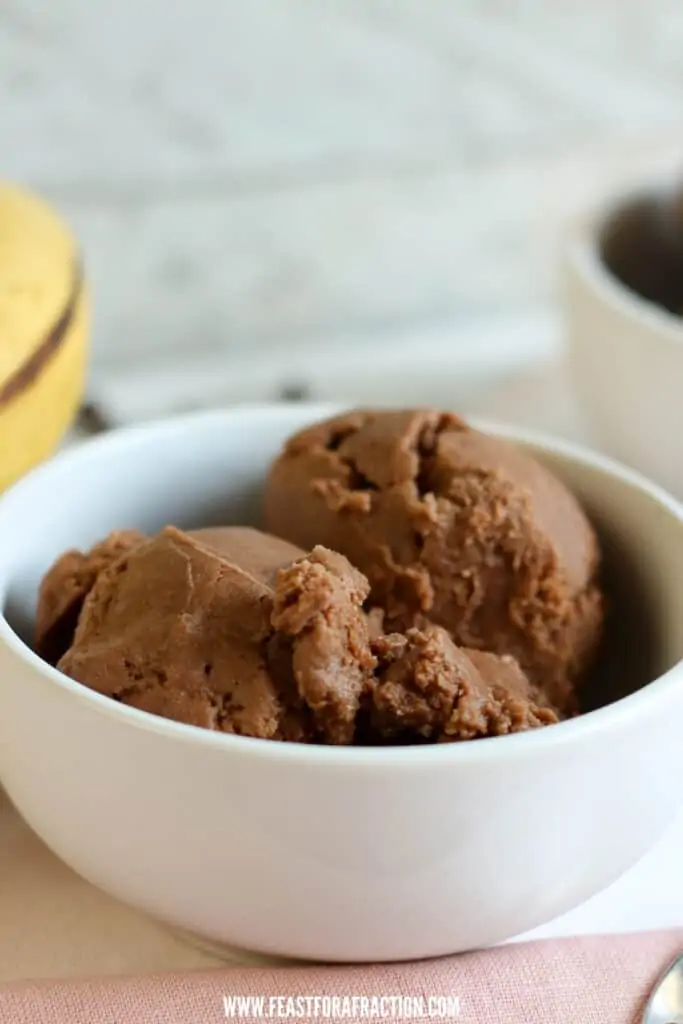
Dairy Free Chocolate Peanut Butter Banana Ice Cream
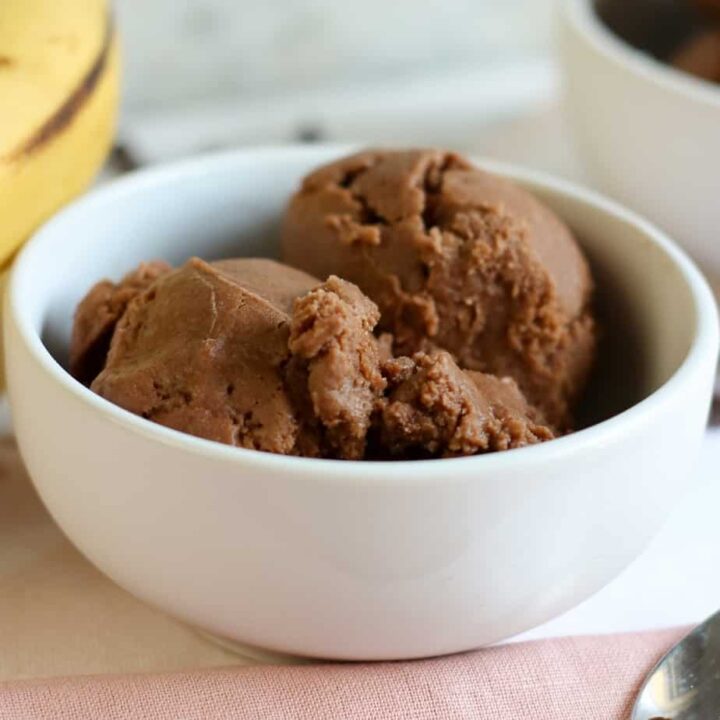
This Chocolate Peanut Butter ice cream (or nice cream) is dairy free and vegan with no sugar added AND it doesn't require an ice cream maker. Easily whip up in 5 minutes for a budget-friendly treat.
Ingredients
- 6 bananas, sliced and frozen
- 1/2 cup peanut butter
- 1/3 cup cocoa powder
- 1 teaspoon vanilla extract
- 1/4 teaspoon salt
- 2 cups milk alternative (almond, coconut, soy, hemp)
Instructions
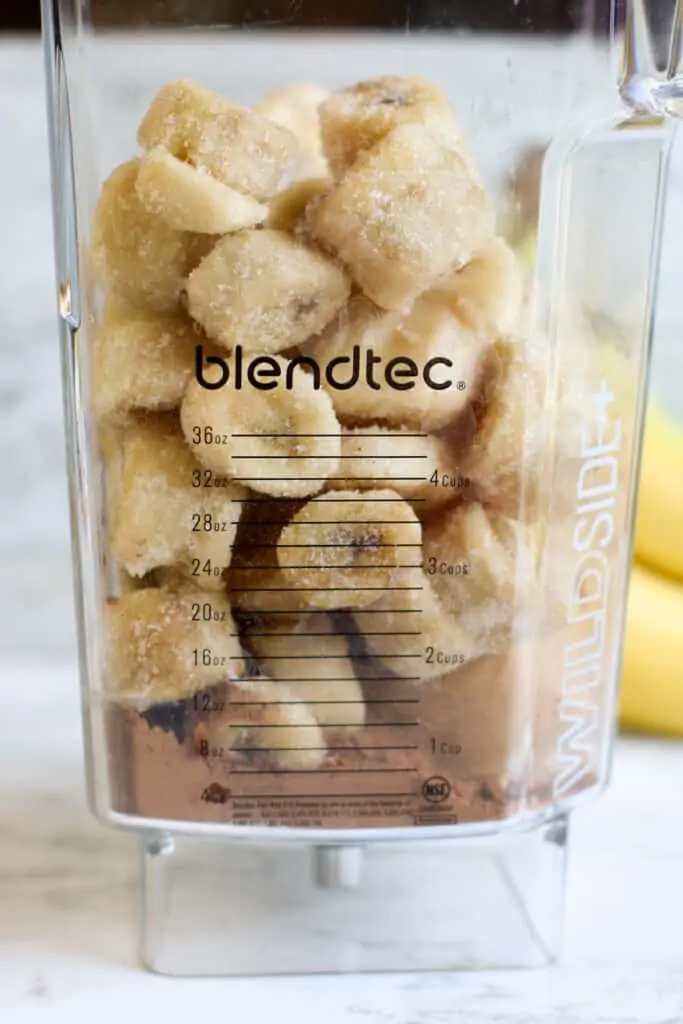
- Place all ingredients in a heavy-duty blender or food processor.
- Process on high until the mixture is smooth, about 60 seconds.
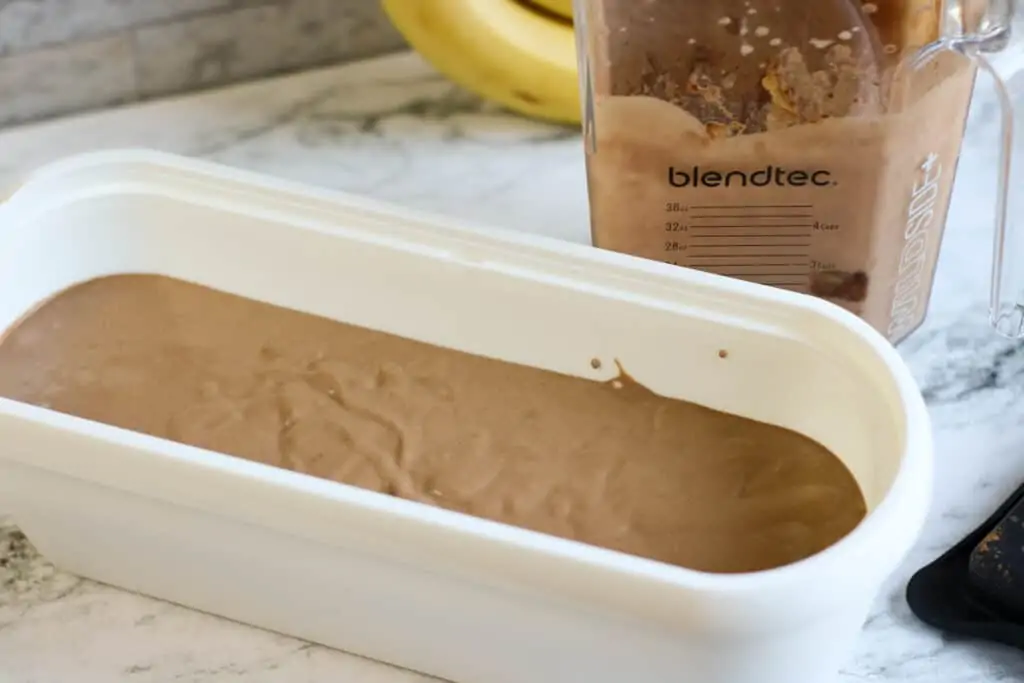
- Pour mixture into an ice cream freezer container and cover. Freeze until set, usually 4-6 hours.
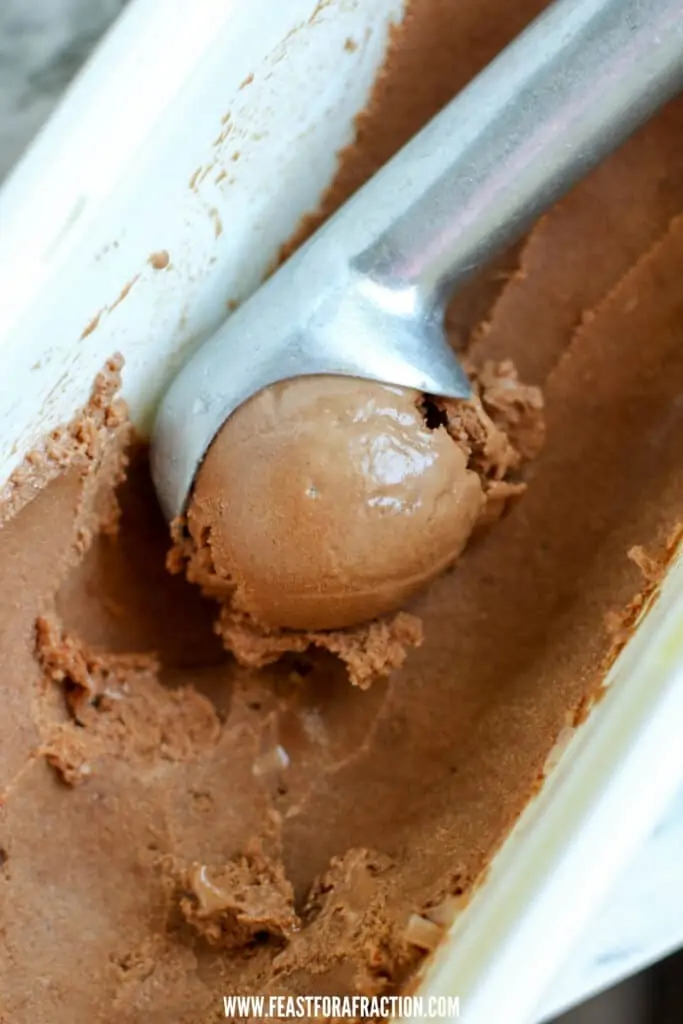
- If the ice cream is too hard to scoop when serving, allow to set at room temperature for 5 minutes.
Notes
Use your favorite dairy free milk alternative. I have used almond milk and soy milk, but coconut, oat, rice or hemp milk would also work well.
I recommend using a high-powered blender like Blendtec, Vitamix or Ninja. You may have to blend for an additional 1-2 minutes dependind on your blender's power.
A freezer container specifically designed for ice cream will help prevent ice crystals from forming on your ice cream. Properly stored, it will last in the freezer for up to 3 months.
If the ice cream is too hard to scoop, you can set it out at room temperature for 5 minutes or run your ice cream scoop under hot water before scooping.
Recommended Products
As an Amazon Associate and member of other affiliate programs, I earn from qualifying purchases.


Nutrition Information:
Yield:
9Serving Size:
1Amount Per Serving: Calories: 195Total Fat: 9gSaturated Fat: 2gTrans Fat: 0gUnsaturated Fat: 5gCholesterol: 4mgSodium: 156mgCarbohydrates: 26gFiber: 3gSugar: 11gProtein: 6g